This article is a guide towards achieving a successful professional yacht photography session.
Yacht photo shooting for professional use, such as promoting chartering or selling, is a quite complicated job that requires a very good preparation and schedule. It also requires a very good cooperation between the photographer and the captain, crew, yacht administrator or owner’s representative. Usually the yacht’s availability for a complete photography session is two up to three days including sailing outside the harbor.
Before the photography session
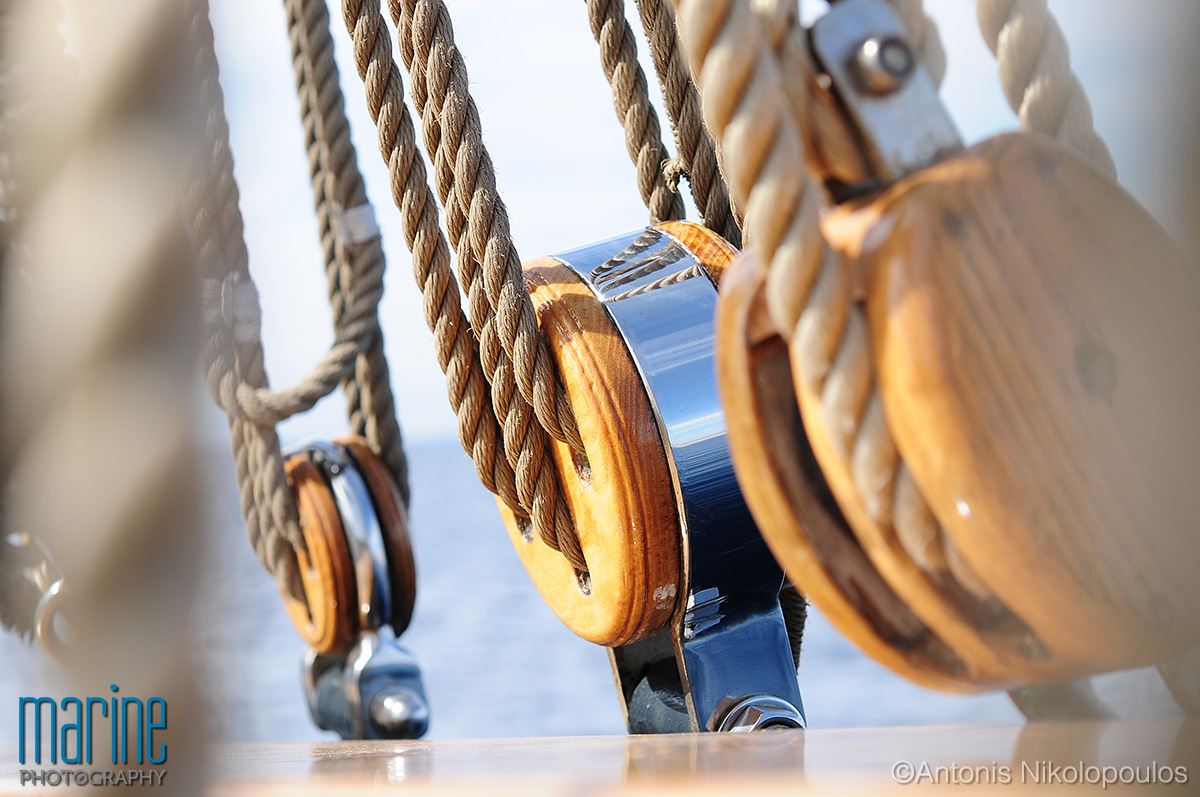
A meeting inside the yacht is absolutely necessary before the photography session. The captain together with the client (yacht’s administrator or owner’s representative) should show the yacht around to the photographer and discuss about what exactly is required. It is important to make clear whether the photographs are going to serve chartering, selling, both, or other need. Decisions should be made about supplementary interior decoration, bed covers and props. If the yacht has a special character such as classic, innovative, impressive woodwork etc, then detailed photographs like the ones below, should illustrate this characteristics.

Additionally all electrical equipment and other mechanisms should be checked for proper function.
In this phase, the photographer will decide which pictures can be taken with the yacht in the dock and for which ones she is necessary to sail and stay outside the harbor. Generally all interior areas with small portholes or without any, can be shot inside the harbor. The rest areas, interiors with large openings and all exteriors should be photographed outside the harbor in a nice natural backdrop.

General requirements for the photography session
The yacht should be net, clean and ready for the photo session. One crew member should stay all the time together with the photographer in order to find solutions in every issue quickly and efficiently. All other crew members should be standing by.
Shooting interiors
Interior areas with small portholes like the guest cabins, guest toilets, corridors and crew areas, or areas without any openings like the engine room as well as other supplementary spaces, can be shot with the yacht in her mooring position.

In the guest cabins shots, special care should be taken in bed covers and decorating pillows, as their color is very critical. Some alternative props for decoration for both the cabins and the toilets should be available. Usually all these shots are made with the yacht’s lights on and no additional lights.

Shooting interiors with large openings
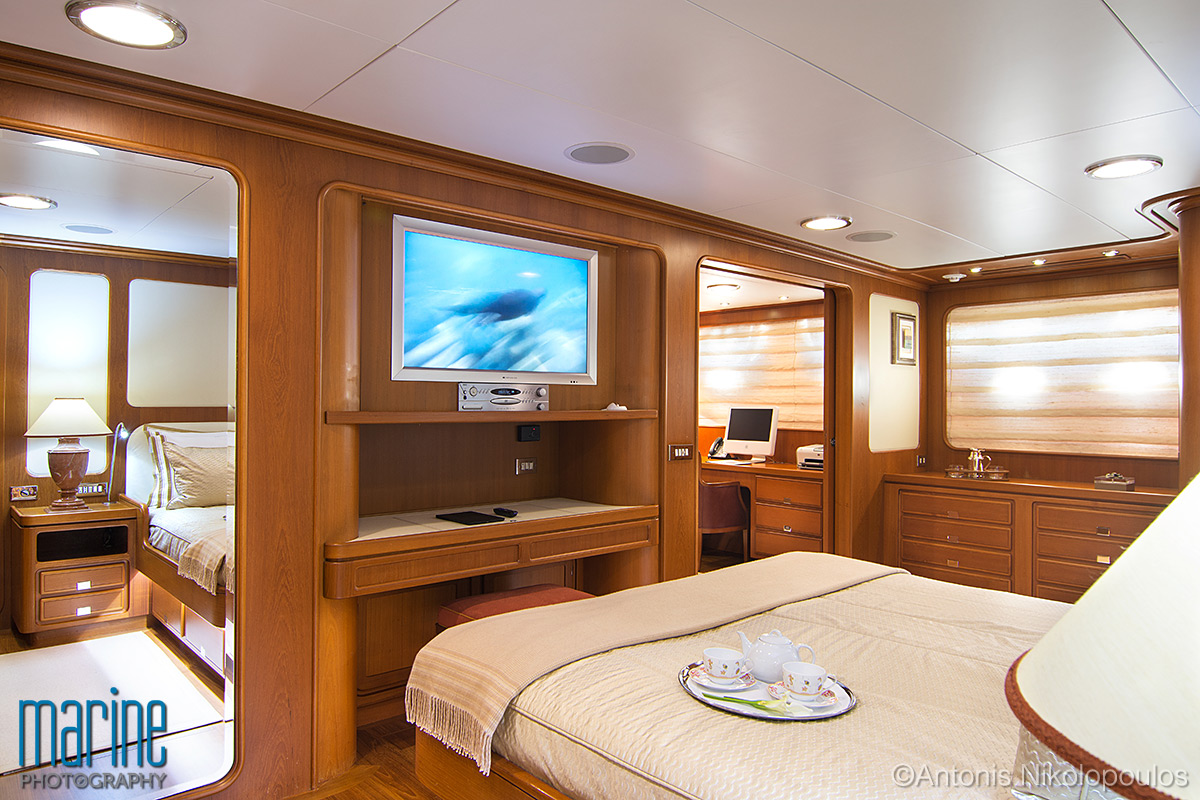
This is a more difficult case, because the natural light coming from the large openings is generally creating a lot of issues. Natural light is much stronger and has a different color (more bluish) comparing with the artificial light. This is a big problem especially when the yacht’s interior is covered with shiny surfaces especially wooden ones. These surfaces reflect the windows highlights, altering the normal view of the area. The solution is to choose the right time when the natural light is in balance with the artificial one, which occurs late in the afternoon or early in the morning. In some rare cases, definitely when there are no shiny surfaces, photo shooting can take place in mid day. In this case, intense natural light can be used creatively and can be controlled with blades as they produce a quite pleasant effect when they are over exposed. Televisions are often a tricky element, as their images are reflected on shiny surfaces. If this happens, it is not possible to inset another image in the TV screen, therefore it is necessary to take a lot of different screen shots for selecting the best one.

The bridge is also a difficult place for photography as it has large openings and very dim light. That means that it should be quite dark outside for obtaining a light balance and get a dramatic picture with instruments lights on.

Shooting exteriors
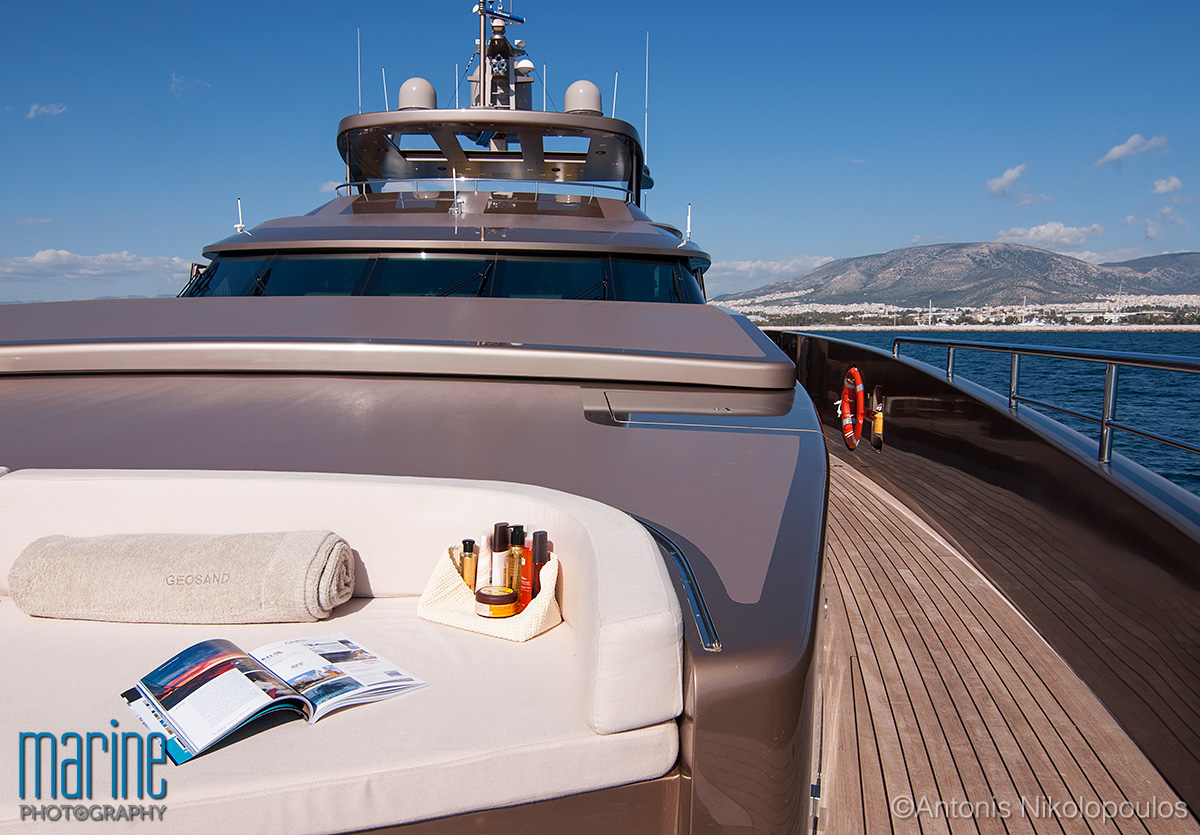
Generally the hard mid day light is not proper for photography. Maybe only the sun deck, the “sea toys” and some close up shots look nice under hard light.
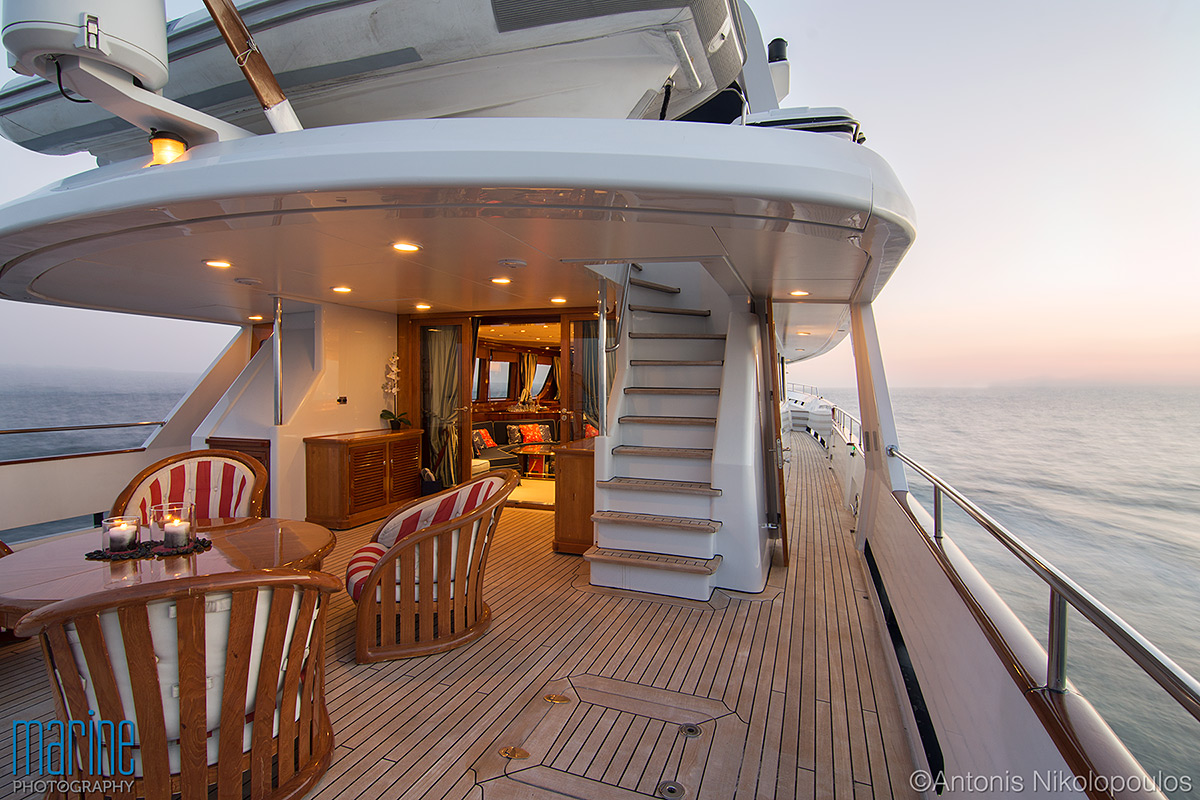
For the rest ones, it is much better to wait until late in the afternoon, even after sunset or very early in the morning. Especially some exterior shots that show interior areas as well (shooting from the stern looking forward inside the lounge), should be taken during a very narrow time gap when both natural light and yacht’s artificial light are in balance. Actually there are many interior and exterior shots which are better to be shot between half an hour before sunset and half an hour after sunset. That’s why all these places should be ready in advance, with all decorating elements in place and all crew standing by to help.
Before getting too dark it is the right time for deck shots showing the night environmental scenery. Weather conditions are also very critical when shooting exteriors. Requirements are clear sky and calm sea.

Shooting from a tender and aerial photography
Shooting a yacht from her tender, requires very good communication and cooperation between the photographer and the captain. The photographer should explain in advance the required course and speed of the yacht regarding the tender’s position. During shooting, communication with VHF should be kept all the time.
Aerial photography of the yacht, is probably much more important than photography from the sea level. Photography with a drone is more flexible and less expensive comparing to hiring an helicopter, that’s why it is mostly preferable. The drone can fly anytime and as low as needed. Again, real time communication with the captain is critical. During both aerial or sea level photography, special care should be taken in every visible part of the yacht’s exterior. Crew members should be hidden but ready to fix anything needed on the decks. The drone operator with the photographer would better stay on shore (if this is possible), alternatively they could be onboard the yacht or in the tender.

Digital editing
After finishing the yacht photo shooting, an equally important work which is digital editing, is about to begin. Professional photographers are shooting “RAW” files, because they contain all the information of color, as well as shadows and highlights details. The problem is that RAW files offer very flat images, improper to be delivered right away. Every image should be processed carefully in a way that every adjustment forms a separate image “layer”, that can be modified any time. Usually every day of shooting on location, requires about two days of digital editing. Finally, two sets of all processed images should be delivered. One set of full resolution and full size files and one set of smaller ones for internet use, processed for minimum file size without visible losses.